Drill Doctor 750X User Manual: A Comprehensive Guide
Welcome! This manual guides you through the 750X’s features, ensuring optimal performance and longevity of your newly purchased Italian-translated drill sharpening system․
Congratulations on acquiring the Drill Doctor 750X, a precision tool designed to restore the cutting edge of your drill bits and other rotating cutting tools․ This manual serves as a comprehensive guide, meticulously crafted to help you unlock the full potential of your investment․ Whether you’re a seasoned professional or a DIY enthusiast, the 750X empowers you to achieve consistently sharp, high-performing tools, extending their lifespan and improving the quality of your work․
This system, recently translated into Italian for broader accessibility, offers a user-friendly experience combined with robust functionality․ We’ll walk you through setup, operation, maintenance, and troubleshooting, ensuring a smooth and satisfying sharpening process․ Prepare to revitalize your tool collection and experience the difference a truly sharp edge makes!
What’s in the Box? ⎼ Component Checklist
Before you begin, please verify that all components are present․ Your Drill Doctor 750X package should include the following: (1) Drill Doctor 750X Unit, the core sharpening station․ (2) Adjustable Chuck, designed to securely hold various bit sizes․ (3) Grinding Wheel – pre-installed, for initial sharpening tasks․ (4) Drill Bit Collets (various sizes) – ensuring a snug fit for different drill diameters․ (5) User Manual – this document, providing detailed instructions․
(6) Power Cord – for connecting to a standard electrical outlet․ (7) Allen Wrench Set – for adjustments and maintenance․ (8) Italian-translated manual – a recent addition for our European customers․ If any components are missing or damaged, please contact customer support immediately for assistance․ Do not attempt to operate the unit without all listed parts․
Safety Precautions & Warnings
Important! Always prioritize safety when operating the Drill Doctor 750X․ Wear safety glasses to protect your eyes from debris․ Keep hands clear of the grinding wheel during operation – it rotates at high speed․ Ensure the unit is properly grounded using the provided power cord․ Never operate the Drill Doctor near flammable materials or liquids․
Caution: Disconnect the power cord before performing any maintenance or replacing the grinding wheel․ Do not attempt to sharpen damaged or excessively worn drill bits․ This tool is intended for professional use; familiarize yourself with this manual, including the Italian-translated version, before use․ Improper operation could result in injury․ Keep the work area clean and well-lit․

Setting Up Your Drill Doctor 750X
Prepare for precision! This section details the initial setup, power connection, and understanding the control panel for optimal sharpening results․
Initial Setup & Power Connection
Unboxing and Inspection: Carefully remove the Drill Doctor 750X from its packaging․ Inspect all components for any signs of damage during shipping․ If damage is present, immediately contact customer support – details are found later in this manual․
Stable Surface: Place the Drill Doctor 750X on a stable, level surface․ This is crucial for accurate sharpening and safe operation․ Ensure adequate lighting is available in the work area․
Power Connection: Before connecting to power, verify that your power supply matches the unit’s voltage requirements (refer to the Technical Specifications section)․ Connect the provided power cord to the Drill Doctor 750X and then to a grounded electrical outlet․
Power Switch: Locate the power switch, typically on the rear of the unit․ Ensure the switch is in the ‘OFF’ position before plugging in the power cord․ Once connected, switch the unit ‘ON’ to begin․
Understanding the Control Panel
Power Button: The primary power button initiates and terminates operation of the Drill Doctor 750X․ A clear indicator light illuminates when the unit is powered on․
Sharpening Angle Adjustment: This dial allows precise selection of the sharpening angle, crucial for different bit types and materials․ Refer to the ‘Adjusting Sharpening Angle’ section for detailed guidance․
Grinding Wheel Speed Control: Adjust the wheel speed to match the bit material – slower speeds for harder materials, faster for softer ones․ Experimentation may be needed․
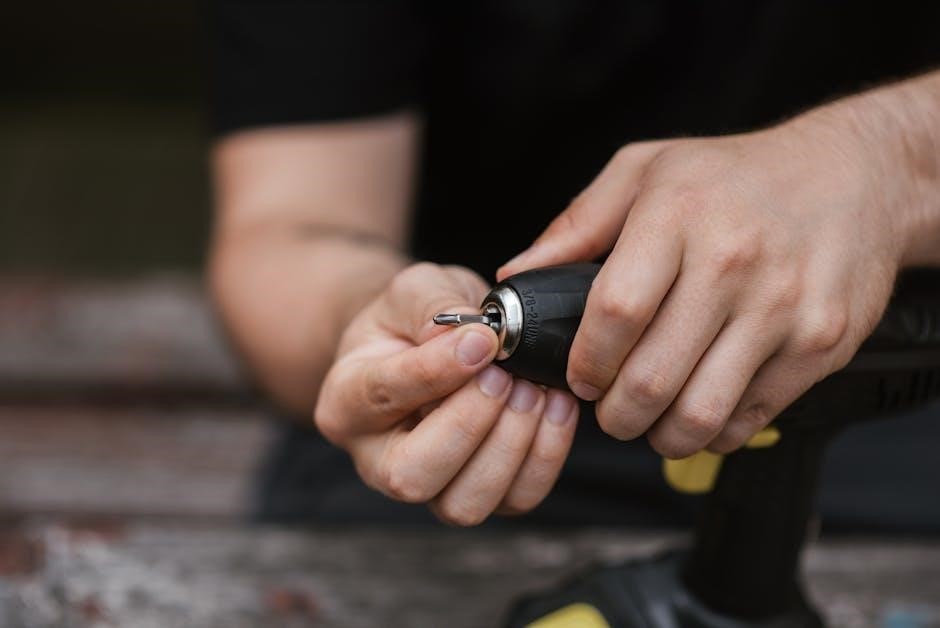
Chuck Adjustment Knob: Controls the adjustable chuck, securing drill bits of varying sizes․ Ensure a firm grip before initiating sharpening․
Pressure Adjustment: Fine-tune the sharpening pressure for optimal results and to prevent overheating․
Mounting the Drill Doctor 750X (Optional)
Secure Mounting: While the Drill Doctor 750X functions effectively on a stable workbench, optional mounting enhances stability and precision․ A dedicated mounting bracket (sold separately) is recommended․
Surface Preparation: Ensure the mounting surface is level, sturdy, and capable of supporting the unit’s weight․ Pre-drilled holes are often required for secure attachment․
Bracket Installation: Attach the mounting bracket to the workbench using appropriate screws or bolts․ Confirm the bracket is firmly fixed before proceeding․
Unit Attachment: Carefully position the Drill Doctor 750X onto the mounted bracket, ensuring it locks securely into place․ Double-check stability before operation․
Vibration Reduction: Mounting minimizes vibration, leading to more accurate sharpening and a prolonged lifespan for both the tool and the grinding wheel․

Sharpening Drill Bits
Precision Sharpening: This section details how to expertly sharpen both standard twist drill bits and more durable carbide-tipped varieties with the 750X․
Standard Twist Drill Bit Sharpening
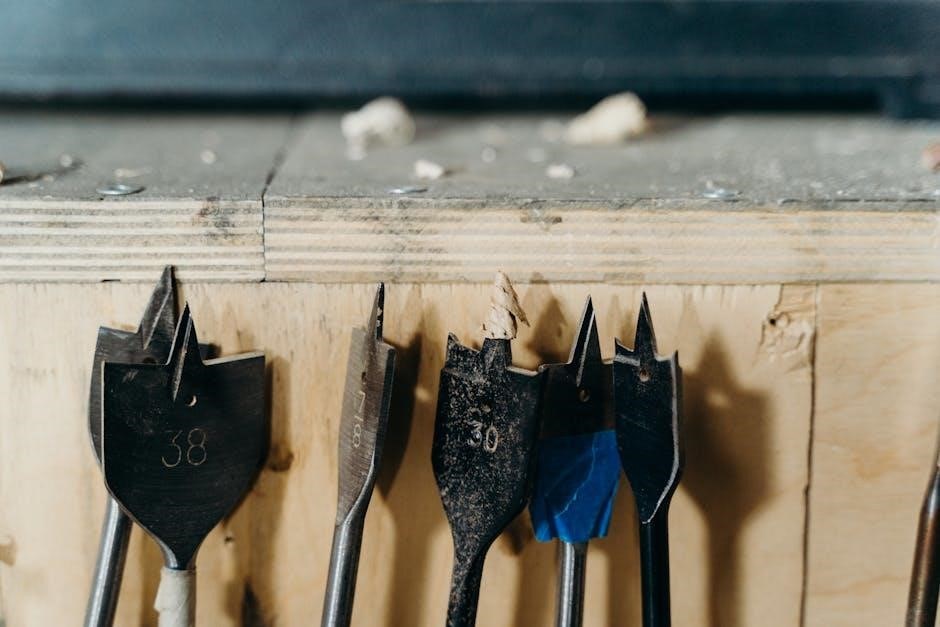
Preparing for Sharpening: Begin by securely inserting the dull twist drill bit into the Drill Doctor 750X’s adjustable chuck․ Ensure the bit is centered and firmly held to prevent slippage during the sharpening process․ Select the appropriate collet size to match your drill bit’s shank diameter for optimal stability;
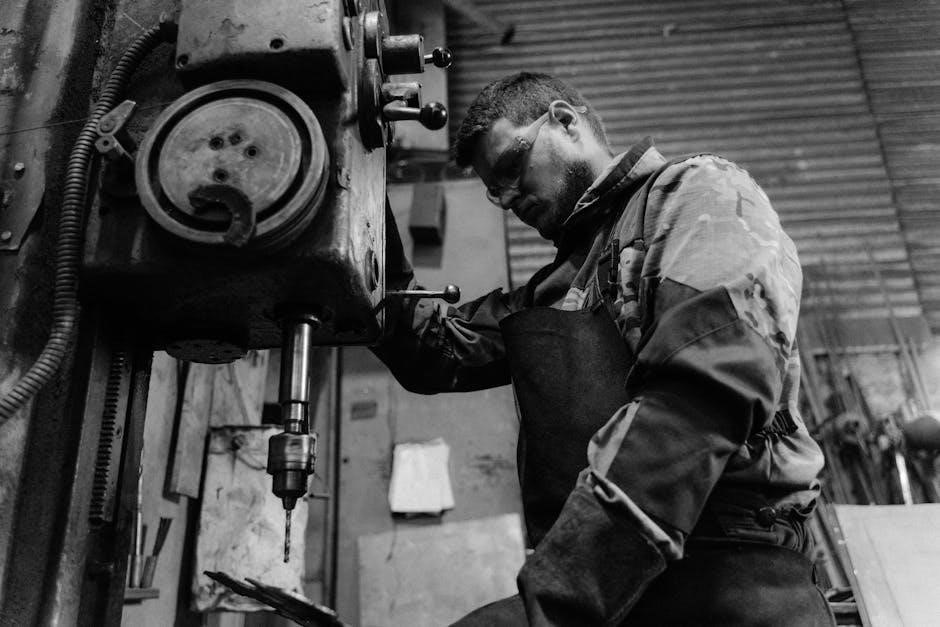
Sharpening Procedure: Activate the machine and gently bring the drill bit’s cutting edge into contact with the grinding wheel․ Utilize a consistent, controlled pressure and move the bit along the wheel’s surface, following the guide․ Rotate the bit incrementally to sharpen all cutting edges evenly․ Repeat the process as needed until the desired sharpness is achieved․ Always prioritize safety and wear appropriate eye protection․
Inspection: After sharpening, carefully inspect the drill bit’s cutting edges for any remaining dullness or imperfections․ A properly sharpened bit will exhibit a clean, sharp edge capable of efficiently cutting through materials․
Sharpening Carbide-Tipped Bits
Understanding Carbide: Carbide-tipped bits require a different approach than high-speed steel․ Due to their hardness, use lighter pressure and slower wheel speed to avoid damaging the carbide cutting edge․ Excessive force can cause chipping or uneven sharpening․
Sharpening Technique: Secure the bit in the chuck, ensuring proper alignment․ Gently touch the carbide tip to the grinding wheel, maintaining a consistent angle․ Employ short, controlled passes, frequently checking the sharpness․ Avoid prolonged contact, as carbide generates significant heat․
Wheel Selection: Utilize a diamond-coated grinding wheel specifically designed for carbide sharpening․ This ensures effective material removal without causing damage․ Inspect the wheel regularly for wear and replace as needed․
Adjusting Sharpening Angle for Different Materials
Material Impact: The ideal sharpening angle varies based on the material being drilled․ Softer materials, like wood or plastic, benefit from steeper angles (around 120-135 degrees) for efficient cutting and reduced grabbing․ Harder materials, such as metal, require shallower angles (118 degrees or less) for durability and precision․
Angle Adjustment: The Drill Doctor 750X allows precise angle adjustments․ Utilize the angle guide and locking mechanism to set the desired angle before sharpening․ Always double-check the setting before initiating the process․
Experimentation: Fine-tune the angle based on your specific application and material․ Slight adjustments can significantly impact performance․ Consistent results require careful observation and practice․
Sharpening Other Cutting Tools
Versatility: Beyond drill bits, the Drill Doctor 750X expertly sharpens countersink bits, screw extractors, and router bits, expanding its utility․
Sharpening Countersink Bits
Preparing Countersink Bits: Ensuring a clean, precise countersink requires sharp bits․ The Drill Doctor 750X simplifies this process․ Begin by securely mounting the countersink bit into the adjustable chuck, ensuring it’s firmly held․ Select the appropriate sharpening wheel – a diamond wheel is generally recommended for harder steel countersink bits․
Sharpening Procedure: Utilize a light, consistent pressure against the grinding wheel․ Rotate the bit slowly, allowing the wheel to evenly remove material․ Focus on maintaining the original bevel angle of the countersink bit․ Multiple passes with light pressure are preferable to a single, heavy pass․ Regularly inspect the cutting edge to monitor progress and prevent overheating․
Final Inspection: After sharpening, examine the countersink bit for sharpness and symmetry․ A properly sharpened bit will create clean, deburred holes․
Sharpening Screw Extractor Bits
Understanding Screw Extractor Geometry: Screw extractors possess a unique reverse-threaded flute design․ Sharpening focuses on maintaining this delicate geometry for effective grip․ Securely mount the extractor bit within the Drill Doctor 750X’s chuck, ensuring a stable hold․ A diamond grinding wheel is crucial for these hardened steel tools․
Sharpening Technique: Employ a very light touch and slow rotation speed․ Concentrate on refining the cutting edges of the flutes, avoiding excessive material removal that could alter the extractor’s reverse thread․ Multiple, gentle passes are essential․ Monitor the flute’s profile frequently․
Verification: Inspect the sharpened extractor for clean, defined flutes․ A properly sharpened extractor will bite firmly into damaged screw heads․
Sharpening Router Bits
Router Bit Considerations: Router bits, often carbide-tipped, require a specialized approach․ The Drill Doctor 750X can effectively restore sharpness, but understanding the bit’s geometry is key․ Securely mount the router bit, ensuring the cutting edges are accessible to the grinding wheel․ A diamond or CBN wheel is recommended for carbide․
Sharpening Process: Utilize a slow, controlled feed rate and minimal pressure․ Focus on recreating the original cutting edge angle․ Multiple light passes are preferable to aggressive grinding․ Regularly check the bit’s profile to avoid overheating or altering the intended shape․
Final Inspection: Examine the sharpened bit for a clean, crisp cutting edge․ A properly sharpened router bit will produce smooth, accurate cuts․

Advanced Features & Techniques
Unlock Precision: Explore adjustable chuck capabilities, grinding wheel selections, and fine-tune sharpening pressure for optimal results and customized tool restoration․
Using the Adjustable Chuck
Versatility at Your Fingertips: The Drill Doctor 750X’s adjustable chuck is a cornerstone of its adaptability․ It securely holds a wide array of drill bit sizes and types, from tiny precision bits to larger, heavy-duty ones․ To utilize it effectively, loosen the chuck collar before inserting the bit, ensuring it’s centered․
Tighten the collar firmly, but avoid over-tightening, which could damage the bit or the chuck itself․ Regularly inspect the chuck’s jaws for wear and tear; damaged jaws can lead to inaccurate sharpening․ The chuck’s adjustability isn’t limited to diameter; it also accommodates different shank types․ Proper chuck usage is paramount for consistent, high-quality sharpening results, maximizing the lifespan of your valuable cutting tools․
Understanding the Grinding Wheel Options
Optimizing for Material & Bit Type: The Drill Doctor 750X offers a selection of grinding wheel options, each designed for specific materials and cutting tool types․ Standard wheels excel at sharpening high-speed steel (HSS) bits, while diamond-coated wheels are essential for carbide-tipped tools, providing superior abrasion resistance․
Choosing the correct wheel is crucial for achieving a sharp, long-lasting edge․ Using the wrong wheel can lead to premature wear, inefficient sharpening, or even damage to the bit․ Regularly inspect your grinding wheels for wear, cracks, or glazing․ A worn wheel diminishes sharpening performance and requires timely replacement to maintain optimal results and tool longevity․
Fine-Tuning Sharpening Pressure
Achieving Optimal Results: Mastering sharpening pressure is key to extending bit life and achieving consistently sharp edges with your Drill Doctor 750X․ Excessive pressure can overheat the bit, potentially altering its temper and reducing hardness․ Conversely, insufficient pressure may result in incomplete sharpening, leaving a dull or uneven edge․
Start with light pressure and gradually increase it until you observe consistent material removal․ Listen to the sound of the wheel against the bit – a smooth, even tone indicates optimal pressure․ Regularly check the bit’s progress and adjust accordingly․ Practice and observation will help you develop a feel for the ideal pressure for different bit types and materials․
Maintenance & Troubleshooting
Keep it Running Smoothly: Regular cleaning, lubrication, and timely part replacement ensure peak performance and longevity of your Drill Doctor 750X system․
Cleaning and Lubrication
Maintaining Optimal Performance: Regular cleaning is crucial for the longevity of your Drill Doctor 750X․ After each use, disconnect the power and use a soft brush to remove metal filings and debris from the chuck, grinding wheel area, and the machine’s exterior․
Lubrication is Key: Periodically lubricate the moving parts, such as the chuck mechanism and the sharpening arm pivot point, with a light machine oil․ Avoid over-lubrication, as excess oil can attract dust and grime․ A small drop is sufficient․
Wheel Cleaning: Inspect the grinding wheel for buildup․ If necessary, carefully clean it with a rubber abrasive cleaning stick designed for grinding wheels – never use harsh chemicals or solvents․ Proper cleaning and lubrication contribute to smooth operation and accurate sharpening results․
Replacing the Grinding Wheel
Safety First: Always disconnect the Drill Doctor 750X from the power source before attempting to replace the grinding wheel․ Wear safety glasses and gloves during this process․ Locate the appropriate replacement wheel, ensuring it matches the original specifications․
Removal Process: Carefully remove the existing wheel guard․ Use the provided wrench to loosen and remove the retaining nut securing the grinding wheel․ Gently remove the worn wheel, avoiding any forceful actions․
Installation: Mount the new grinding wheel onto the spindle, ensuring it’s properly seated․ Tighten the retaining nut securely with the wrench․ Reinstall the wheel guard․ Always test the machine after replacement before sharpening․
Troubleshooting Common Issues (e․g․, uneven sharpening)
Uneven Sharpening: If experiencing uneven sharpening, verify the drill bit is securely clamped in the chuck․ Ensure the bit is aligned correctly with the grinding wheel․ Check for debris buildup on the wheel or bit, cleaning as needed․
Wheel Issues: A worn or damaged grinding wheel can cause inconsistent results․ Replace the wheel if it appears glazed or chipped․ Confirm the wheel is rotating smoothly and at the correct speed․
Pressure & Angle: Incorrect sharpening pressure or angle can lead to problems․ Refer to the ‘Adjusting Sharpening Angle’ section․ If issues persist, consult the warranty information for support․
Technical Specifications
Discover key details! This section outlines the Drill Doctor 750X’s precise dimensions, weight, motor power, and grinding wheel characteristics for reference․
Drill Doctor 750X Dimensions & Weight
Understanding the physical attributes of your Drill Doctor 750X is crucial for workspace planning and portability considerations․ The unit boasts a compact footprint, designed for convenient placement in workshops of varying sizes․ Specifically, the Drill Doctor 750X measures approximately 12 inches in length, 8 inches in width, and 8․5 inches in height․
These dimensions allow for stable operation on most workbenches or dedicated sharpening stations․ Regarding weight, the Drill Doctor 750X tips the scales at roughly 6 pounds․ This manageable weight facilitates easy transport and repositioning as needed, without compromising stability during the sharpening process․ Knowing these specifications ensures optimal integration into your tool collection and workspace․
Motor Specifications
Powering the precision of the Drill Doctor 750X is a robust and reliable motor engineered for consistent performance․ The unit operates on standard 120V AC power, ensuring compatibility with most household and workshop electrical systems․ The motor delivers a power output of 1/3 horsepower, providing ample torque for sharpening a wide range of drill bit sizes and materials․
It features a rotational speed of 2,800 RPM, optimized for efficient and accurate grinding․ This speed, combined with the precision grinding wheel, allows for quick and clean sharpening results․ The motor is also designed with thermal overload protection, preventing damage from overheating during extended use, ensuring longevity and user safety․
Grinding Wheel Specifications
The heart of the sharpening process lies within the Drill Doctor 750X’s high-quality grinding wheel; This wheel is specifically engineered for sharpening high-speed steel, carbide-tipped, and other common drill bit materials․ It boasts a diameter of 3․5 inches and a grit size of 180, providing an optimal balance between material removal and surface finish․
The wheel’s composition ensures durability and consistent performance, maintaining its shape and abrasive properties over extended use․ It’s designed for efficient heat dissipation, preventing drill bit damage during sharpening․ Replacement wheels are readily available, ensuring continued operation and maintaining peak sharpening performance for years to come․
Warranty Information & Support
Your Drill Doctor 750X is covered by a one-year limited warranty against manufacturing defects․ Contact customer support for assistance and replacement parts․
Warranty Details
This warranty covers defects in materials and workmanship under normal use for one year from the date of original purchase․ It does not cover damage resulting from misuse, abuse, neglect, accidents, alterations, or unauthorized repairs․
To make a warranty claim, you must provide proof of purchase and a detailed description of the defect․ Return shipping costs are the responsibility of the customer․ We will, at our option, repair or replace the defective product․
This warranty is non-transferable and applies only to the original purchaser․ Any implied warranties, including merchantability and fitness for a particular purpose, are limited to the duration of this express warranty․
Contacting Customer Support
For assistance with your Drill Doctor 750X, our dedicated customer support team is readily available․ You can reach us via phone at 1-800-555-SHARP (7427), Monday through Friday, 8:00 AM to 5:00 PM Eastern Time․
Alternatively, you can email us at support@drilldoctor․com, and we will respond to your inquiry within 24-48 business hours․ Please include your model number and a detailed description of your issue․
Visit our website at www․drilldoctor․com for frequently asked questions, troubleshooting guides, and downloadable resources․ Live chat support is also available during business hours․ We are committed to providing excellent support!
Finding Replacement Parts
Genuine replacement parts for your Drill Doctor 750X can be purchased directly through our website at www․drilldoctor․com/parts․ We offer a comprehensive catalog including grinding wheels, chucks, collets, and other essential components․
Alternatively, you can contact our authorized dealer network․ A list of dealers is available on our website under the “Support” section․ When ordering, please have your model number and the part number readily available for accurate fulfillment․
For assistance identifying the correct part, please contact customer support․ Using non-genuine parts may void your warranty and compromise performance․ Ensure optimal functionality with official Drill Doctor replacements!